


After reading about light stencils at DIY Photography I was sure I had to try that. In short, you use a flash to illuminate a printout while taking a long exposure picture.
Building
To build a light stencil I used:
- a cardboard package (about 25 x 22 x 25 cm)
- a sharp knife
- aluminium foil
- glue
- black tape
- a cheap flash (Unomat B 18 DIGI Slave, 9.99€) with a test button
Here are some pictures on how to build such a thing.

First cut off the edges so that the remaining will form a funnel.

Cut a window into one side. I have a frame of about 3 cm on each side but 1 cm at the bottom. You may want to go even lower on the bottom side, because otherwise your stencil will be always floating.

Then use some tape to build the funnel.

Now glue aluminium foil into it to reflect the flash.

I tried to build a kind of envelope out of a clear folder to be able to exchange the stencils easily. That kind of works.
Testing
Now, take your favorite super hero or what ever and open it in Gimp or Photoshop. Mask the background and fill it with black. Then print it twice. Use the best settings your printer has to offer. The more ink the better. Especially for the black areas. Align both printouts as perfect as possible and fix them with a bit of tape. Then insert the stencil into the envelope. If the stencil is not big enough, use some black cardboard to build a frame.
Next, setup the camera. Here is how I did it, but maybe there is an easier way. Put a well lit replacement at where you want see the stencil afterwards. Measure the distance with the camera auto focus, then switch to manual focus. Darken the room and check the exposure with you camera. Exposure time should be around 20 to 30 seconds. Use a tripod (of course) and a remote control, if available. Otherwise use the self timer. Put the flashlight into the funnel and turn it on. Now hit the shutter, then put the funnel at the right position, hit the flashlight test button and move out of the picture.
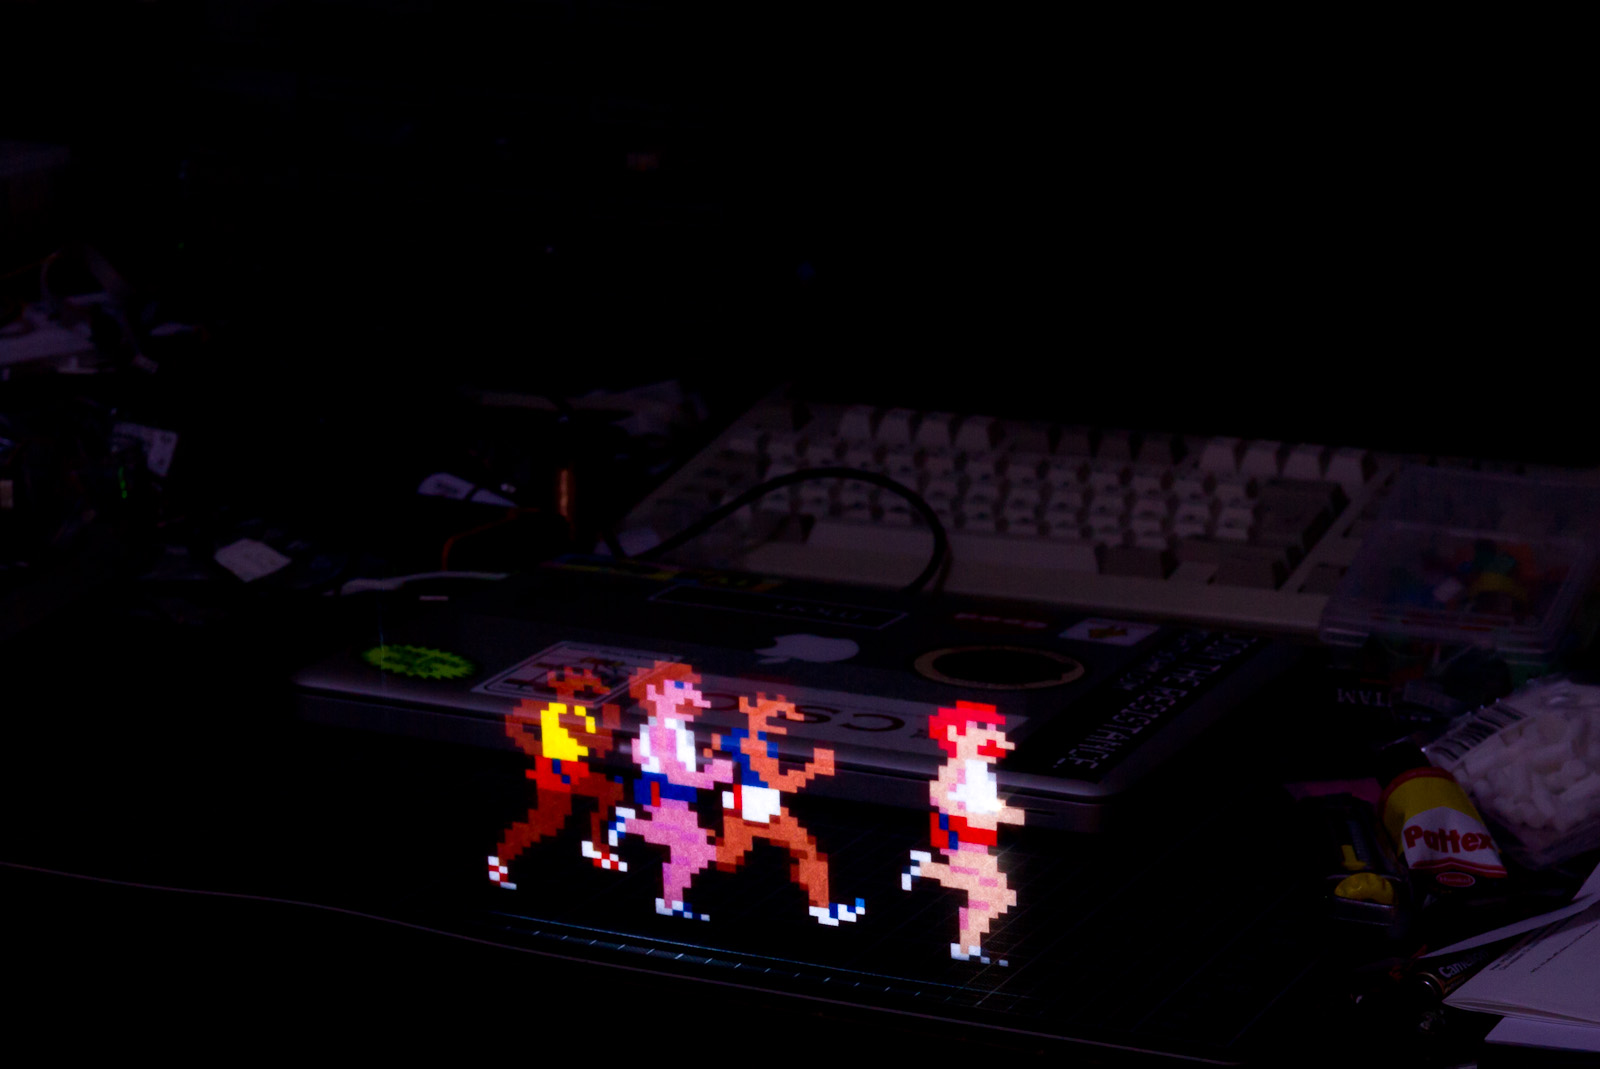
This is one of my first test shots (ISO100, f5.6, 30s). Slightly lighten up with Lightroom.
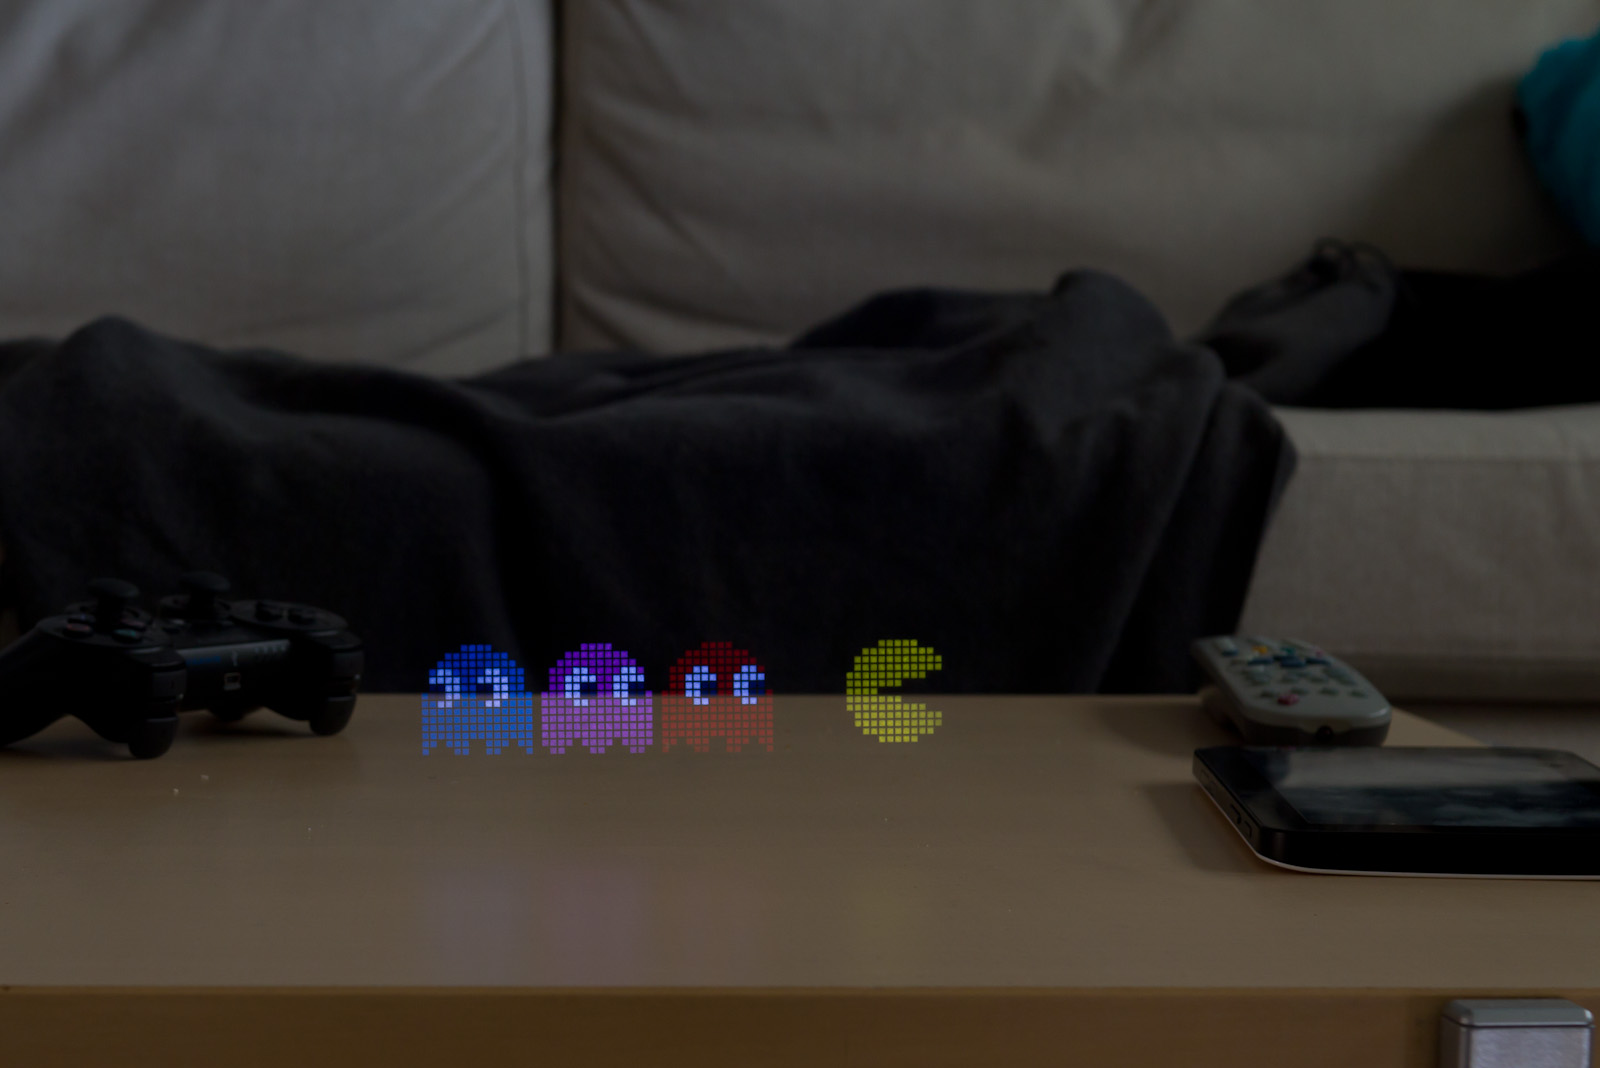
Here is another one (ISO100, f5, 30s).
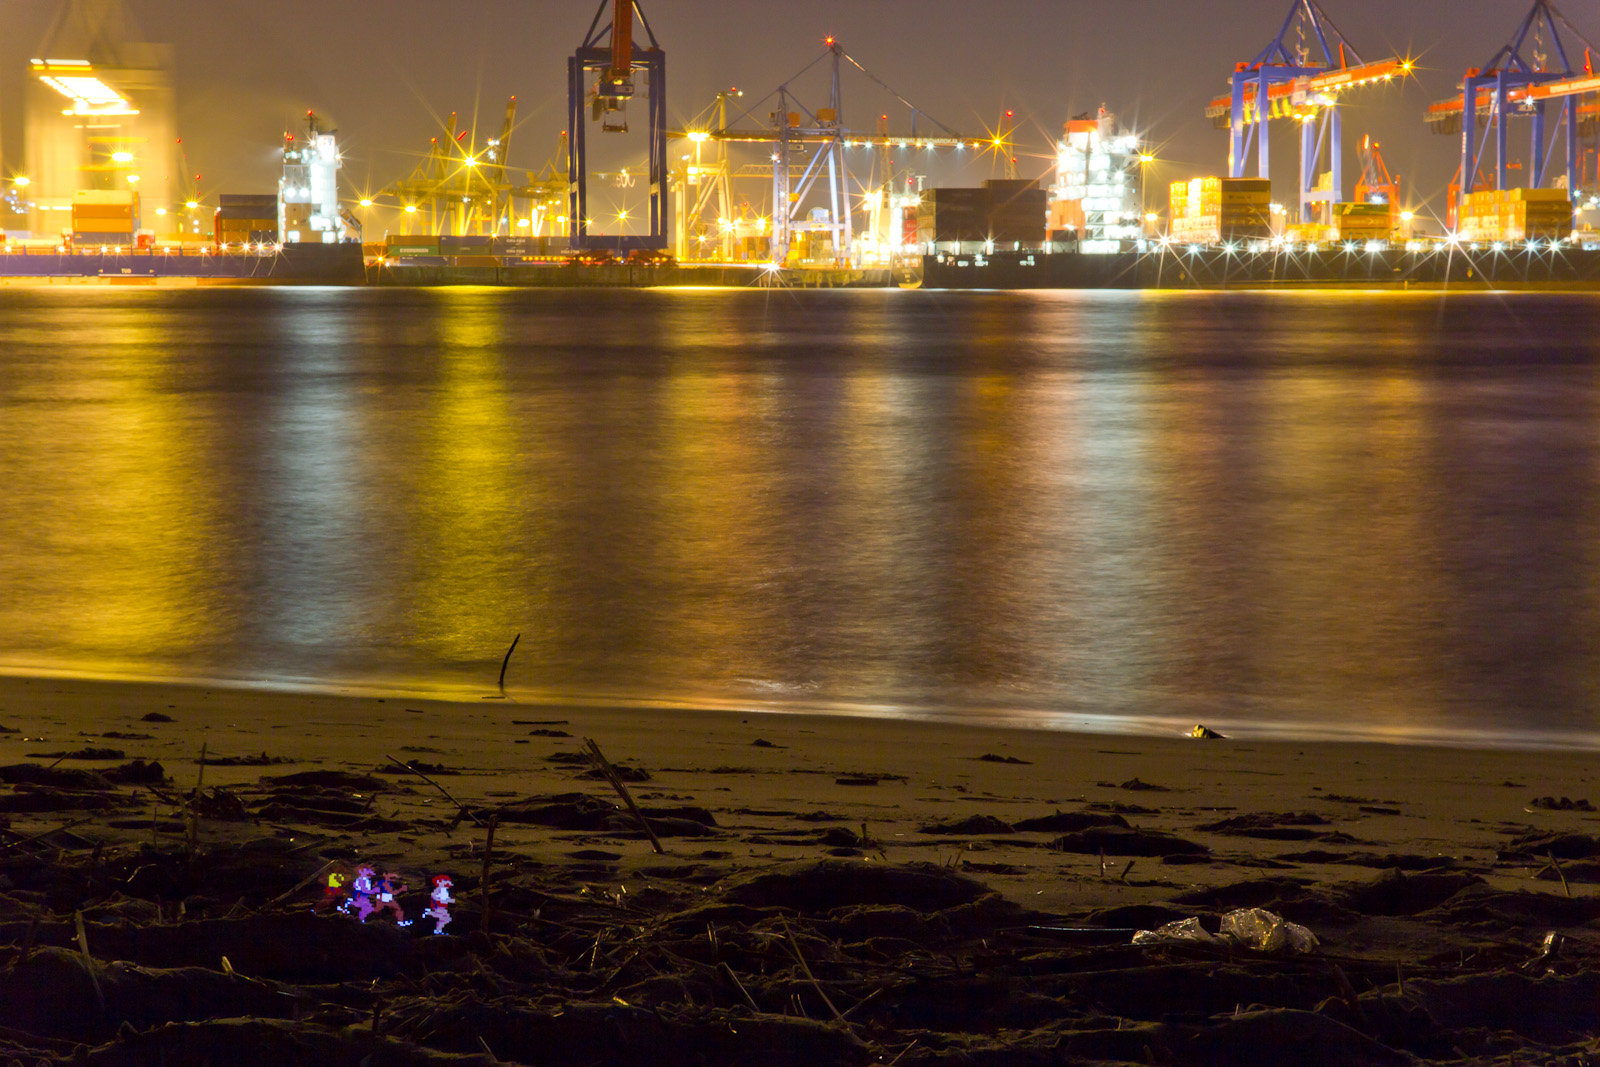
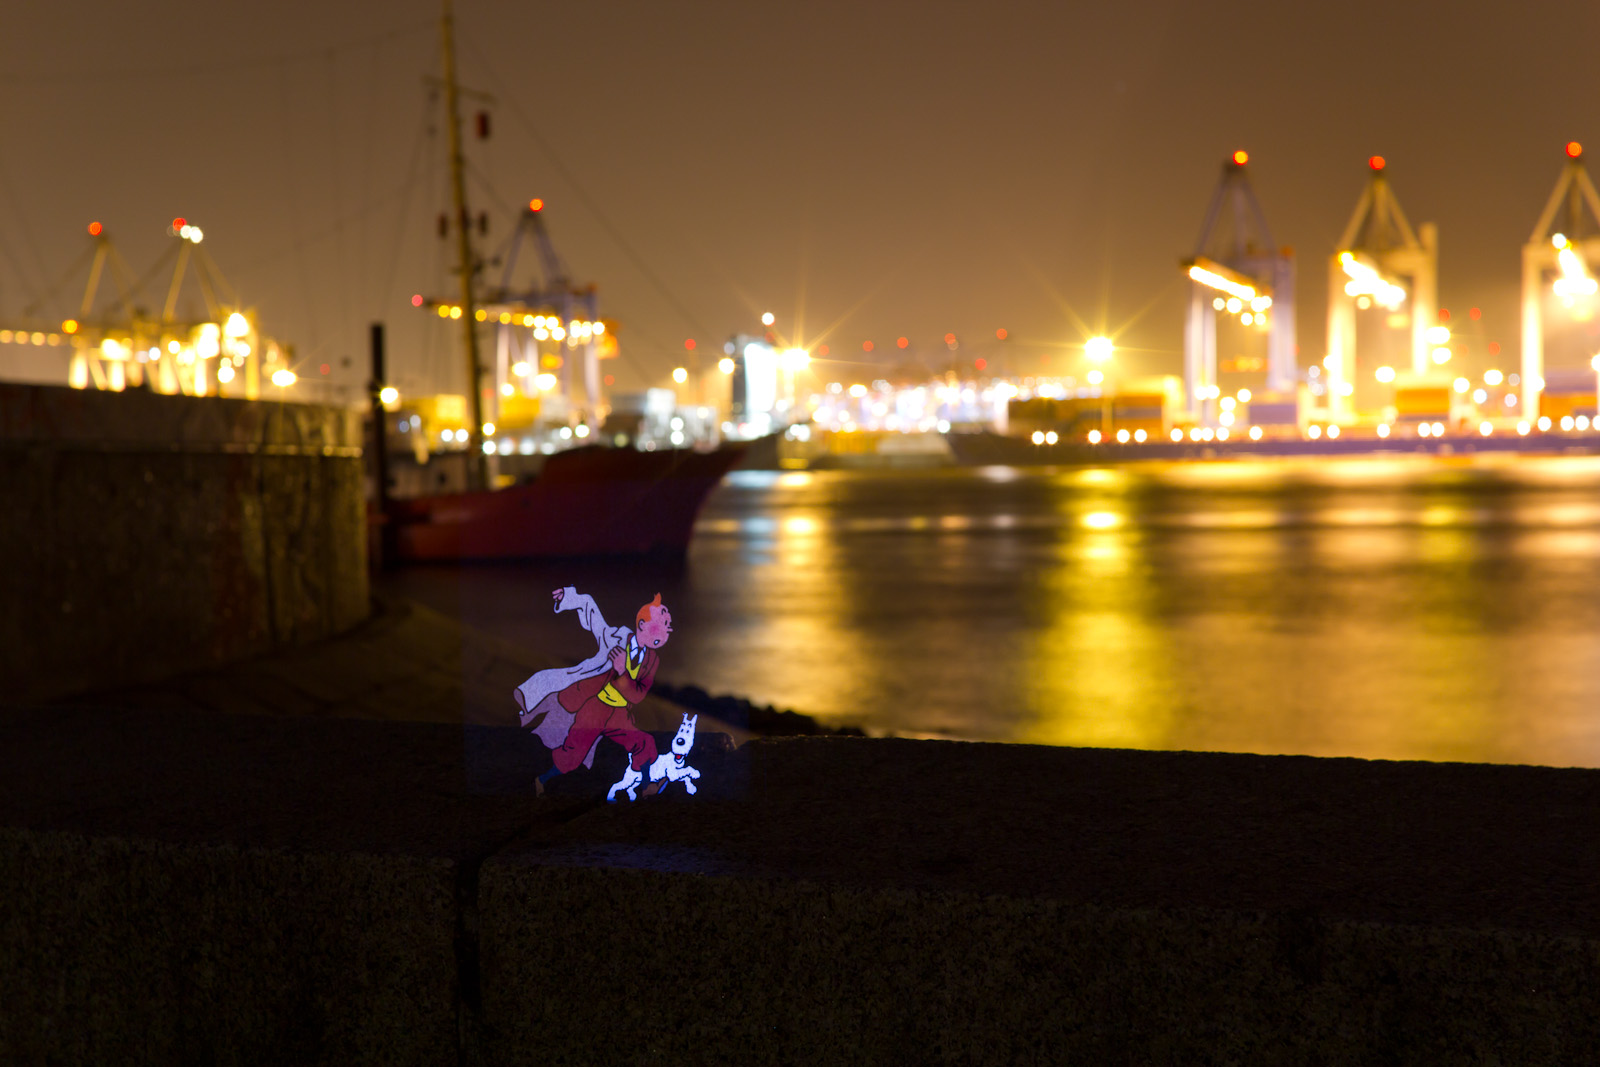
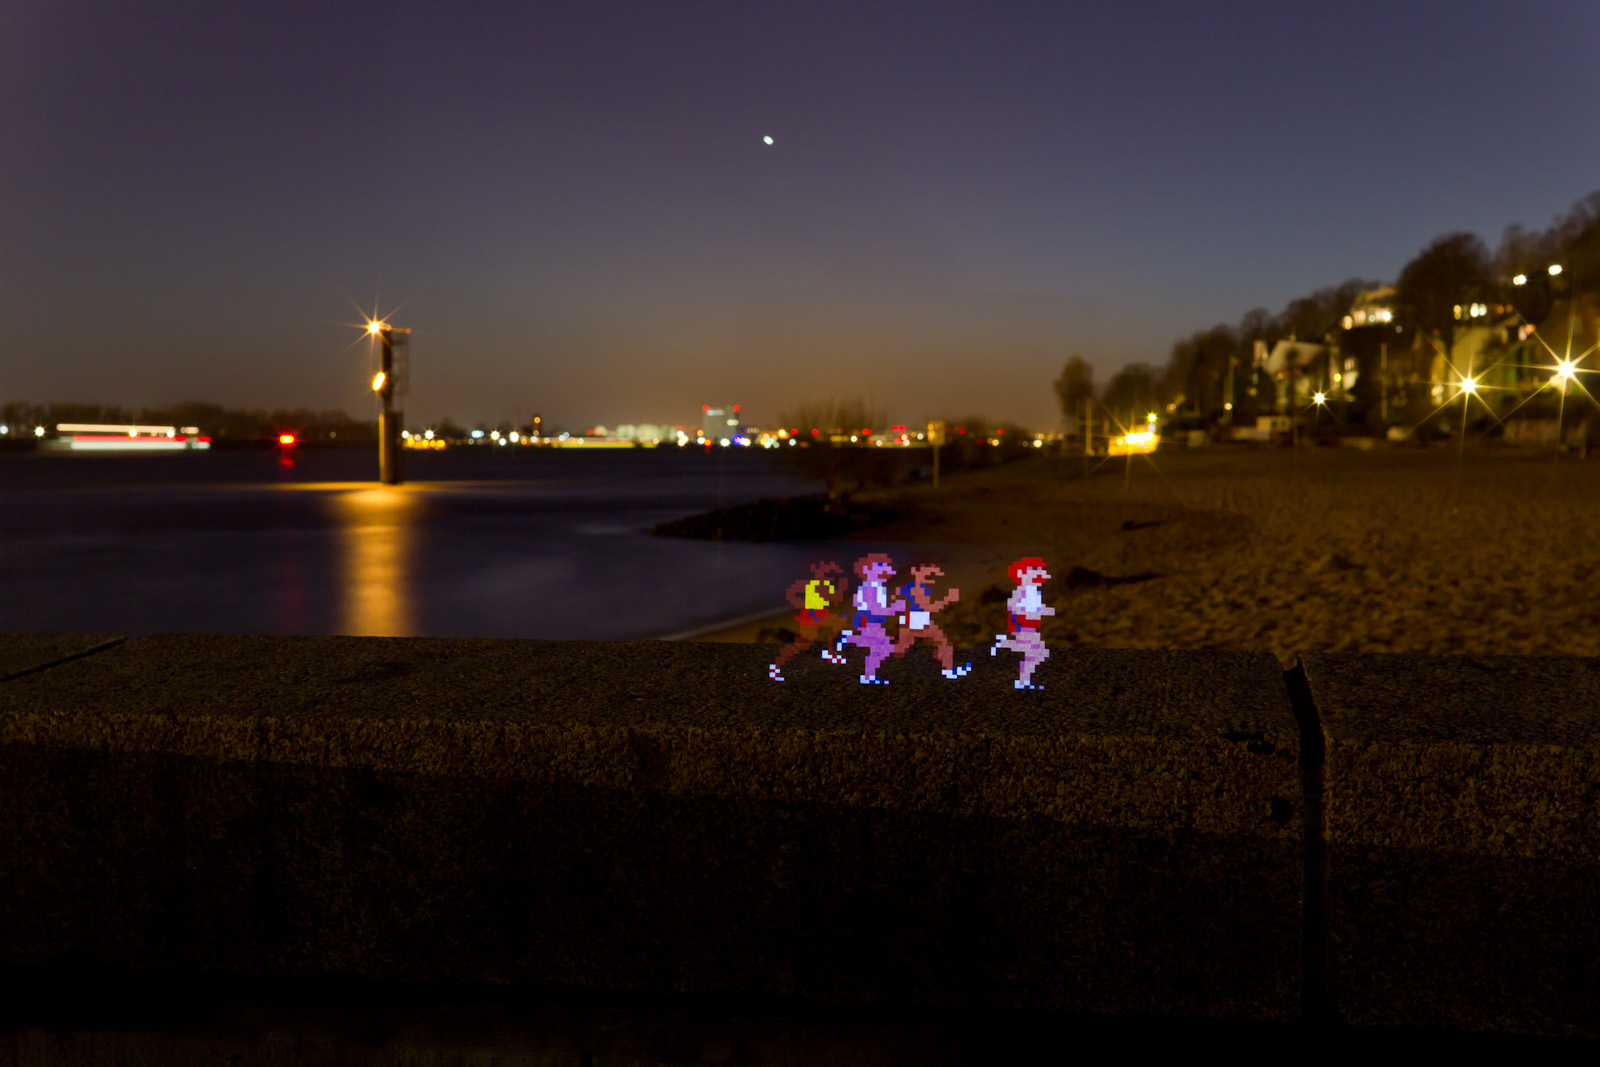
Yesterday I was out to test the light stencil in the wild. It was still very cold, slightly above 0°C. Setting things up was a bit difficult because it was dark (haha!). I used a flashlight to help me measure the distance. I think it would be much easier to do this in a twosome. Anyway, the first test was disappointing. It turns out that my city (Hamburg) is still really bright, even at night. The stencil was almost invisible on the first shots. I managed to compensate it a bit by using different angles and then over exposing them in Lightroom.
Optimizing
The problem is the ratio between ambient light and flash light. I could use a stronger flash next time, but that may also reveal the complete stencil because the stronger flash will most likely shine through the black regions of the stencil. Even now with the weak flash you can almost see the light stencil on some pictures. How to overcome that? Three printouts?
Another thing that I noticed is that sometimes the two printouts are not really close together. That may look like they are out of focus on the picture. I should glue them together, even the inside, not only at the edges.
Next time I would try to use standard format, say A4, for the printout and the envelope to make it easier to experiment with different stencils. Now it’s like print, glue, cut, insert, add a black patch here and so on.
After all it is fun to play with light stencils. The pictures you get are somewhat special.
Links
- More hires pictures at Flickr
- Use Light Stencils To Create Amazing Light Paintings at DIY Photography
- light stencil tutorial done by Trevor Williams
- Tutorial for light stencils by truemarmelade

Interesting idea but sounds like more work than is necessary, would it not be easier just to photoshop the images in post? or am i missing the point?
still interesting though
Bryan.
LikeLike
WOW … ich gebe zu ich habe nichts alles gelesen und bin nur begeistert von dem Resultat. Natürlich sagt in meinem Kopf auch der kleine Photoshop Mann “was für ein Aufwand, das geht doch auch viel einfacher…” aber der andere kleine Flummi mosert dann rum und sagt ” auf so was kommt man nur durch das Gefummel mit der Hardware …” ;-)
I love it
LikeLike
@bryan @andre that’s for people who don’t know how to photoshop ;)
LikeLike
Interesting results!
Maybe you can prevent the light bleed through your printouts by adding a layer of thick black card to the front, and cutout the figures.
That should help block the unwanted light, without adding too much thickness to the figures themselves (as additional thickness there will reduce the brightness of them).
LikeLike
I know what i will be doing today !!!
LikeLike
I will be doing this will b&w 55mm film camera
LikeLike
very cool and I want to try it. My question is do you have to use a flash? Would it not turn out the samea, if say you use a white led light?
LikeLike
It would work with LEDs but only if they are as bright as the flash. Otherwise you would have very long shutter times.
LikeLike