Last July I bought a small used lathe. It’s a Proxxon SD 300, also known as Hobbymat MD65 or as PRAZI Saupe/Unitech SD-300. It can hold pieces up to 300mm in length and weighs about 45kg. Why a lathe you ask? I wanted to do more mechanical stuff. 3D printers are fine and all that but I wanted something stronger. At least aluminum.
So, after buying I had to do some cleaning and lubricating. Then I did a couple of test cuts to get familiar with the lathe.
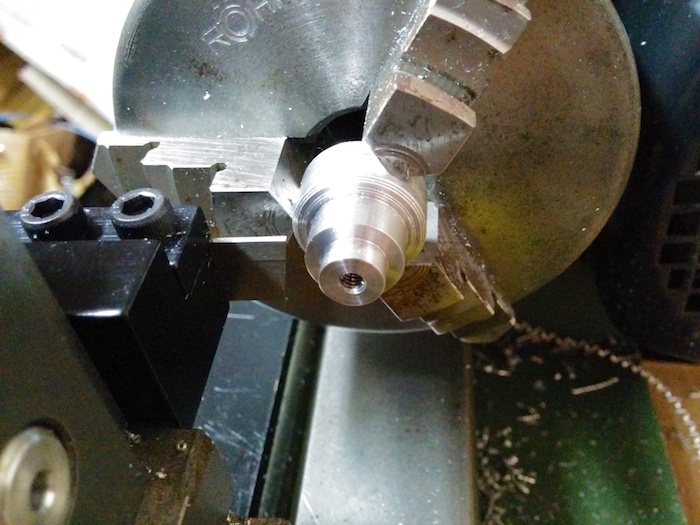
On the lower right you can see the so called tool post. It is used to hold all your different turning tools. The problem is, changing the tool is a bit tedious because you have to unscrew the bolts, change the tool and screw the bolts back in. For every tool it is very important, to have the cutting edge exactly at the center of the work piece. That means for every other tool you have to put thin plates under the tool to adjust the height.
The solution for that is called a quick change tool post. A bit of research brought me to this tool post from LittleMachineShop which should fit on my lathe. I ordered it and it really fits. Kind of.
For the tools that are positioned at 90 degrees it’s perfect. You can adjust the height of the tool with the brass nut at the top.
The Problem

But there is a problem with the boring bar tool holder, that sits along the axis of the work piece. These tools are used to bore into your work and cut a precision inner diameter.
It can’t be adjusted all the way down so that it’s not at the center. D’oh!
What if I would build my own tool holder? That would make a good first project. Also I could build my boring bar holder to fit 8mm boring bars and not 3/8″ bars as on the one from LittleMachineShop.
The solution

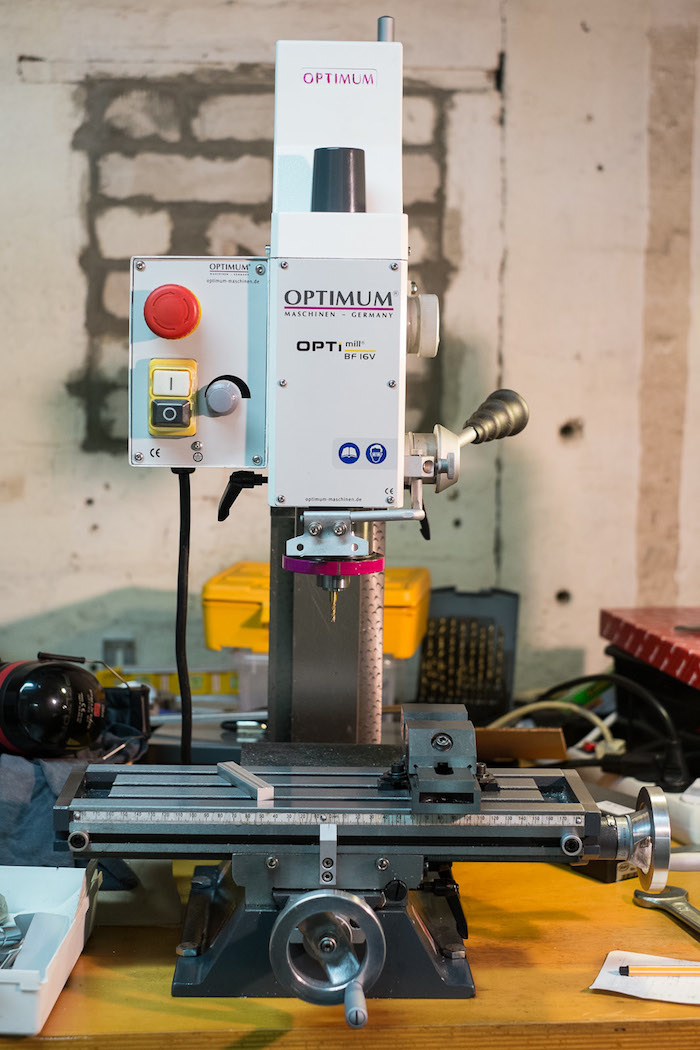
So I bought a small mill. It’s an Optimum BF 16, 500 watts, 60kg.
After buying a machine you realize, that the machine needs a bunch of tools be be really useful. I saw the UPS guy quite often that time. Then finally I had everything together to work on the tool holder. I used my mini band saw to cut a piece of 7075 aluminum. That’s a strong alloy, almost as strong as some steels.
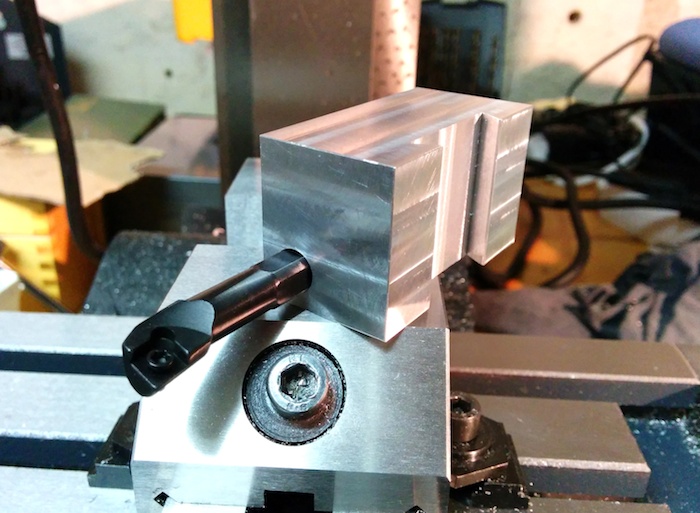
Here are some pictures as it takes shape.


Here is the new boring tool holder in action.
The result
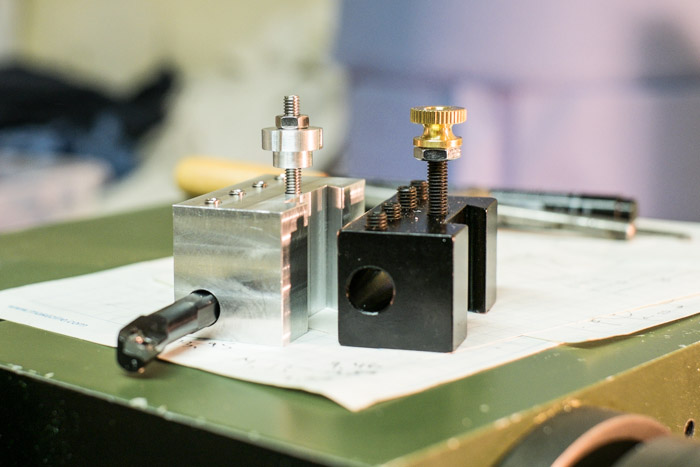
And here side by side with its brother.
This was quite a journey for me, because I had known very little about machining and materials. It took really long (on and off) and I still know only a super tiny fraction of it all. The new tool holder looks nice and I really like it. OK, it’s not black.
But it’s great fun to work with your hands and solve little problems like “how do I clamp this piece of material” or “what kind of tool do I need to do this or that”. So for the next couple of months I hope to spend more time in the workshop in the basement to machine things and learn more about metalworking at all.
There are a couple of more hires pictures in this flickr set.
Oh, BTW: I had only one major f***up. When I bored the 8mm hole for the boring bar, everything looked fine until I wanted to insert the bar. It went in but only 80% or so, then it got stuck. Hmm, I thought, I just grab the 8.5mm boring bit and do it again. Not a good idea. 0.5mm more sounds very small but actually the boring bar was way too lose in there. Luckily the block was deep enough to cut off the that part and bore it again with 8mm. Then I used a bit of sanding paper. Much better.
Learning machining
To learn about metalworking and especially machining, I enjoyed watching a ton of really good youtube videos. Here are my favorite channels so far:
- Mr. Pete, aka Tubalcain, very many small parts on how do I do this and that. Very well explained!
- Keith Fenner at Turn Wright Machine Works, THE star in this category, bigger machines and real world problems. Great videos!
- Tom Lipton from Oxtools, I’m a big fan of Tom Lipton! His videos are very entertaining and he has a great way of teaching stuff. If I would live near the Bay area, I would clean his shop every day, only to watch over his shoulder from time to time.
I learned quite a lot from these guys so thanks to all of you for all the work you put in your videos to help machining newbies like me.
Of course, for really learning something you must try it yourself, no matter how many videos you watched. It just looks too easy in these videos …
Here is the latest from Oxtool, which really made me laugh.


Great work.
” I used my mini band saw to cut a piece of 7075 aluminum”
Which one is yours ? Is that really mini saw ? Or DIY one ?
LikeLike
Thanks. It’s a Proxxon MBS 240/E. It had a hard time cutting that block.
LikeLike
hi Alex, you make me kinda jelly with that kind of set-up. getting my hands on something that produces nice little metal chips is quite high on my ” to buy” and “to do” lists.
do you have got experience (1. or 2. hand) with combined machines ? combining mill and lath functions ? my workspace for everything “dirty” is rather limited and i consider going for a combination to safe some space for other tools/machines.
LikeLike
Hi RBT,
I have no real experience with such a machine. My guess is, that you will hate the changing of the cross slide every time as you switch from the mill to the lathe and back. But that’s only guessing.
I looked on ebay for proxxon mills for quite a while and some times there is a lathe/mill combination. Even saw a MD 65 with a mill attachment.
Cheers,
Alex
LikeLike
uh if i have had to change slides so often, that could indeed be a pain in the back. somehow, i imagined slides and tool mount could be the same. luckily i can get my hands on a combined machine in the next few days and get some 1st hand experience regarding that issue (hopefully).
LikeLike