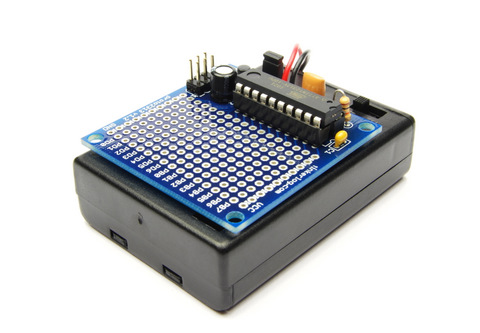
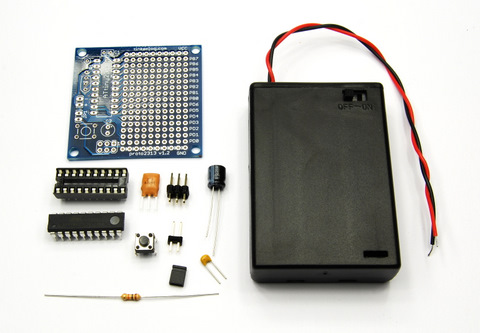
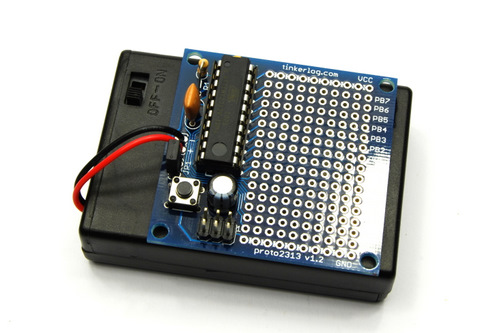
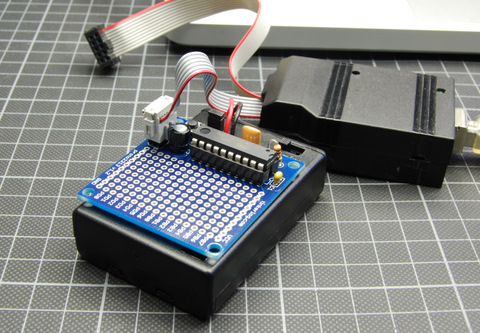
This Tiny2313 Proto Board is for all these one-off projects and prototypes. You want it more permanent than on a breadboard but don’t want make a custom PCB for it. The board comes with 10 components only and is really easy to solder.
Best of all, it comes with its own battery holder for 3 AA cells.
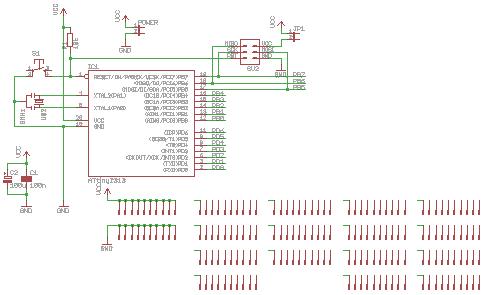
Schematic
The schematic for this proto board is rather simple. It has a jumper, that lets you select if you want to power the board from the programmer. Note, that there is no voltage regulator on board. Most circuits run fine with ~4.5 V provided by 3 AA cells.
Parts
The following parts are needed:
- ATtiny2313V-10PU, microcontroller, Digikey
- Socket, 20-pin, Digikey
- Capacitor 100n, Digikey
- Capacitor 100u, Digikey
- Resonator, 8 MHz, Digikey
- Resistor, 10k, Digikey
- Button, Digikey
- 6-pin ISP header, Digikey
- Jumper, Digikey
- Battery holder for 3 AA batteries with switch, Digikey
- Tiny2313 Proto PCB, Tinker Store
Most parts are generic. You can buy them from your preferred dealer if you wish. Digikey links are for reference.
To assemble everything, the following tools are required:
- Soldering iron and solder
- Solder wick (optional)
- Third hand or panavise. Not really required, but very helpful
- Diaglonal cutters
To run the board, you will need an ISP programmer to load your program into the microcontroller.
Solder it
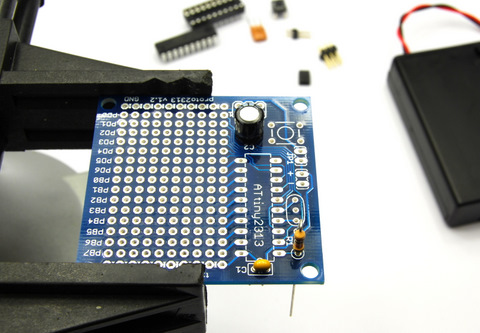
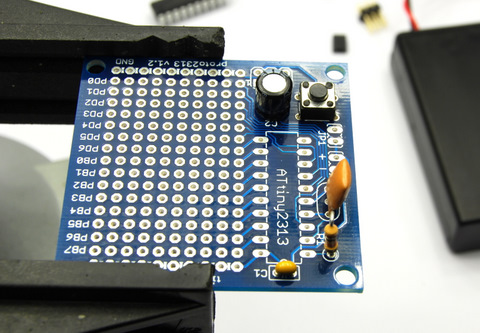
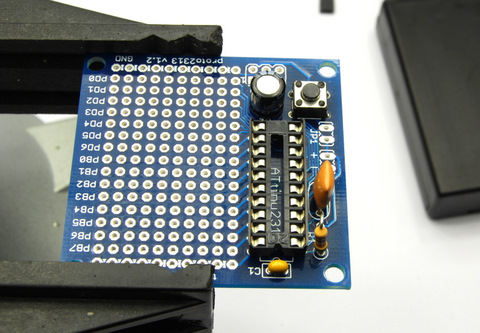
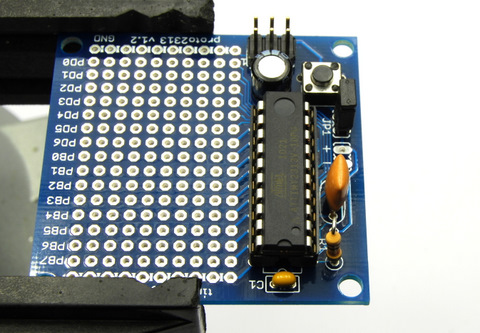
Start with the two capacitors and the resistor. The 100u capacitor, the black one, has a positive and a negative lead. Insert like above and let the negative side point away from you. The negative side on the capacitor is marked with a grey strip. Also the negative lead is short than the other one. For the 100n capacitor and the resistor the polarity does not matter.
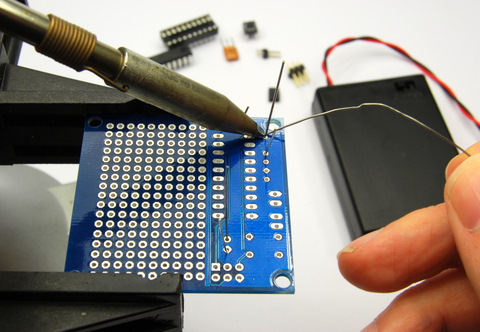
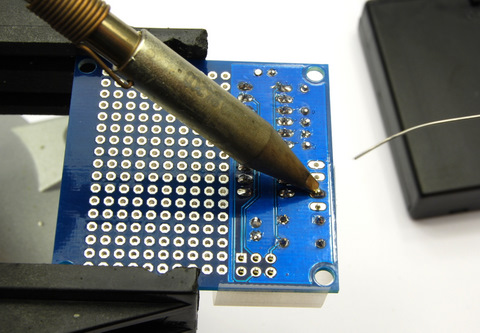
Bent the leads of all components slightly apart so that they don’t fall off if you swap the board. Then solder them.
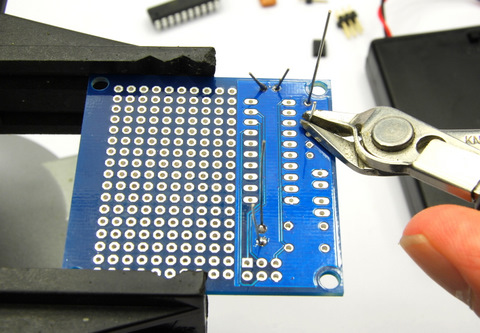
After that, cut off the leads.
Now insert the button and the resonator.
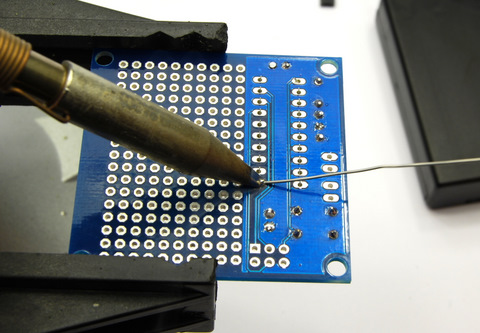
Solder them as well.
Next insert the 20-pin socket. Check, that the small notch points towards you.
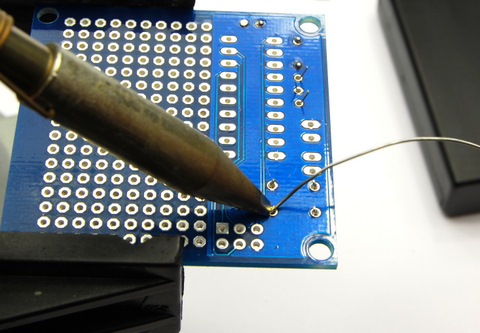
And solder that one. First solder only two pins on two corners. Then check if the socket sits flat on the PCB. If it does, solder all other pins.
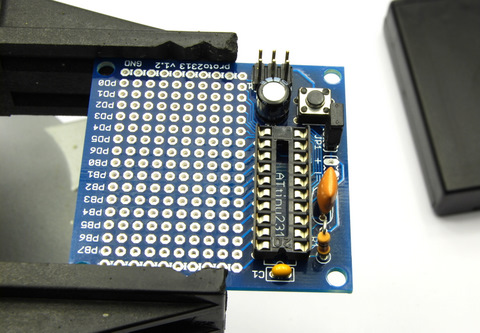
Now insert the 6-pin ISP header and the jumper.
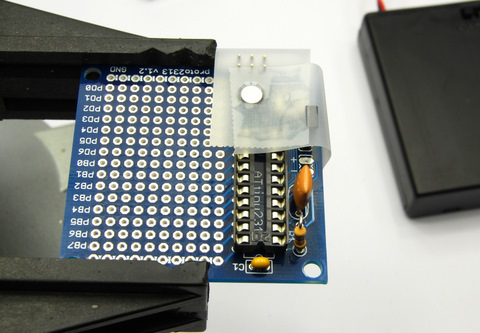
You can try to use tape to fix them so that they don’t fall off, if you swap the board.
Solder the jumper and the ISP header.
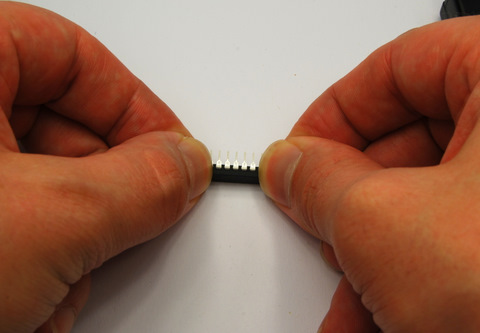
You may have to bent the legs of the controller a bit inwards to make it fit into the socket. Lay the one controller side flat on the table and bent it slightly inwards. Then put it on the other side and do it again.
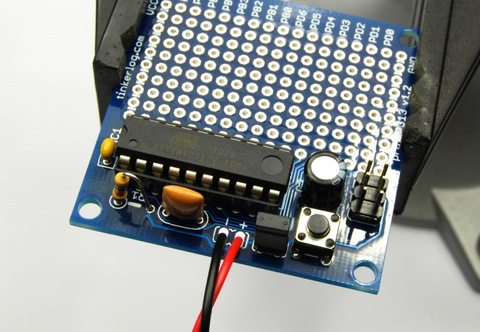
Insert the controller. Check for the tiny notch. It must match the notch of the socket.
Last step, insert the power cables. Red for (+), black for (-). Depending on you project you can shorten the cables.
Ok, great, that was that. You’re done with soldering the Tiny2313 Proto Board.
Program it
Next stop, plug in you programmer into the 6-pin ISP header. There is a small 1 on the PCB to show you how to plug it in. Note, if you want to power the board from you ISP programmer, then put the jumper JP1 on. If you want to power the board from its own power supply, then pull the jumper off and switch the power on.
Remember, prototyping is great! Always beta!!1
Downloads
- Buy a kit at Tinker Store (sorry, no longer available)
- Eagle Schematic, tiny2313proto.zip

