


It took a bit longer than I expected to get the new kits on the blog shop. But hey, I’m a software developer, we never deliver on time ;).
Finally all parts arrived and all pictures are taken. There are two new howtos with detailed step-by-step instructions and schematics, Tiny25 header and Tiny2313 header. And get a kit in the shop if you like.
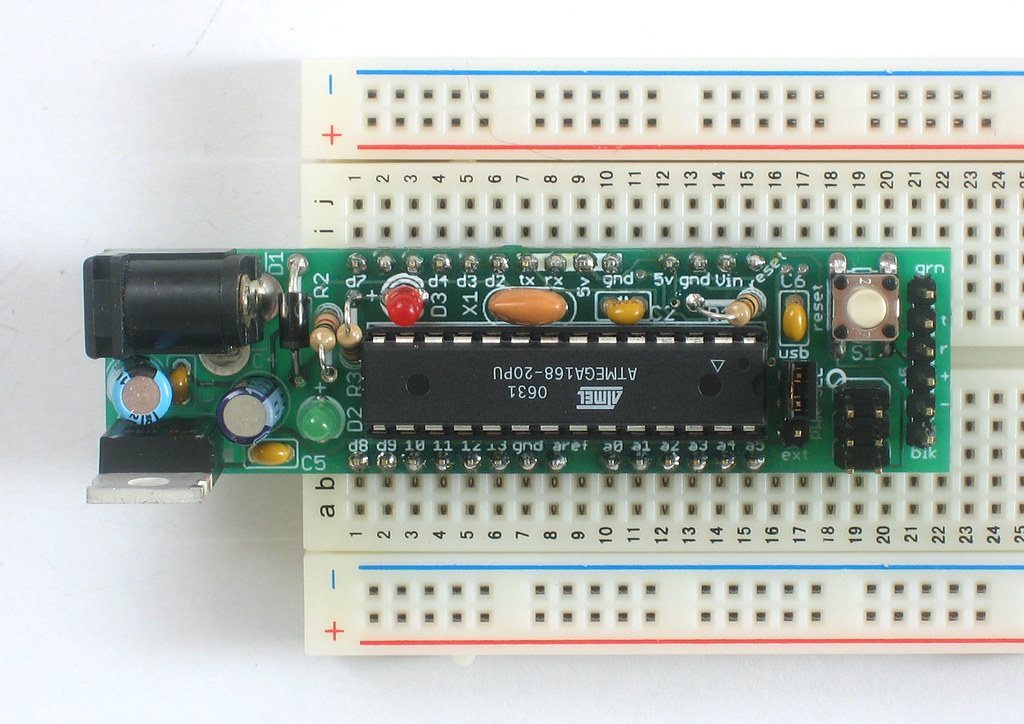
Sorry, the shop is closed.

Tiny2313 kit parts list: I think you mean 20-pin socket, not 8-pin.
LikeLike
Good catch, corrected.
LikeLike
Could you use an ATTiny13 in the Tiny25 header kit?
Also, have you considered selling just the boards alone, not in kit form?
Great idea; cool execution. Best o’ luck.
LikeLike
Yes, ATtiny13 is also possible, but it can’t use the resonator (no XTAL pins).
And yes, the boards alone are also availabe in the shop.
LikeLike
Grats that you finished it!
These are great help! Well done! Looking forward to your next tinkering!
LikeLike
Only complaint I have is working out which way to plug a ftdi cable onto the 2313 board. The silkscreen just indicates pin 1.
Compare with the silkscreen on a boarduino which makes it a lot more obvious.
Other than that they are great. Smaller, neater and easier than building the same thing on stripboard.
LikeLike
Ok, I see. I will look into that for the next batch. Thanks for the feedback.
LikeLike
If you put a jumper from pin 4 (XTAL2) to ground, you can use the socket for most 8pin AVRs with internal clock.
LikeLike
Thanks Alex, super cool PCB, built mine last night and works like a dream. Can you confirm that jumping Pin 4 of the chip socket to ground will allow me to work with a Tiny13?
Is it possible to program the chip when it is still in-circuit? I though this was the whole point of ISP. I get errors if I try and flash a new hex to the chip if it has load (LED’s on PB0 and PB1) on the pins. If I disconnect the LED’s from Ground, everything works fine.
LikeLike
Hi Jim,
actually pin 4 is already GND, I think Franks means from pin 3 to pin 4. But no, I haven’t tested that yet.
For the ISP problem, most of the time the programmer is not able to pull the lines up, that are connected to LEDs or other loads. For example, for the USBtinyISP, that I am using, I had to short two resistors to be able to drive lines that were connected to LEDs. Here is a post on Lady Ada’s forum: http://forums.ladyada.net/viewtopic.php?f=20&t=8210
Cheers,
Alex
LikeLike
I got mine today – with a nice blue PCB and a sticker. Now I don’t have to memorize the resistor colors anymore ;-)
I flashed it with some demo code of my own and (once again) stepped into the FUSE settings trap. I really should memorize that factory settings are 1MHz internal RC oscillator… or RTFM for once.
The new 4313 is coming btw…
LikeLike
Yeah, the divide by 8 fuse sucks.
Glad you like the sticker :)
LikeLike
I just upgraded mine to ATtiny4313.
If you’re interested in compiling code for this one on linux, you may find this post here very interesting.
http://www.avrfreaks.net/index.php?name=PNphpBB2&file=viewtopic&t=104134
LikeLike